Logo fx
Facile - Easy

Questo/a opera è pubblicato sotto una Licenza Creative Commons.
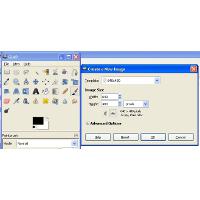
- Create una nuova immagine / Make a new Immage
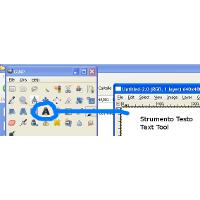
- Selezionate lo strumento testo / Select the text tool
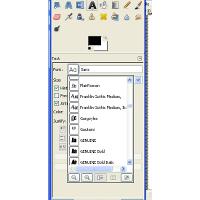
- Selezionate il font ( io ho usato Gargoyle ) / Select the font ( I have used gargoyle one )
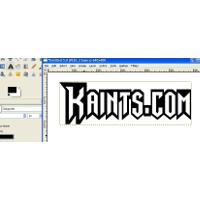
- Scrivete un testo, il colore per ora non è importante ( nero è meglio ) / Write some text, the colour isn't important for now ( black is a good choice )
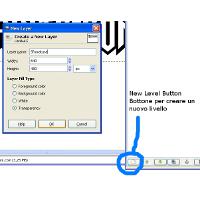
- Create un Nuovo Livello, nominatelo "Sfumatura" / Create a new level, call it "Gradient"
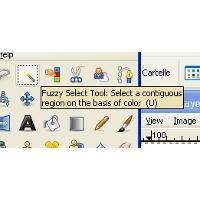
- Selezionate lo strumento "bacchetta magica" / Select the magic hand tool
- Selezionate il livello testo nella finestra dei livelli / Select the Text level on the Level window
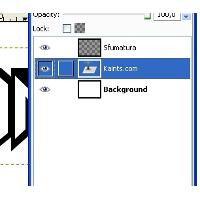
- Tenendo premuto "shift" selezionate le parti vuote all'interno del testo / Holding down "shift" select the inside empty text part.
- Selezionate il livello "Sfumatura" / Select the "gradient" level

- Selezionate lo strumento "sfumatura" / Select the blend tool ( gradient )
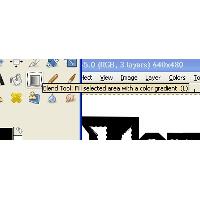
- Scegliete i colori / Choose the color ( #0d69bf / #615f5f )
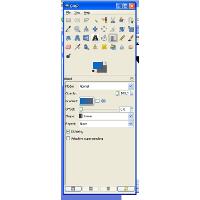
- Create la sfumatura iniziando dall'alto verso il basso // Make the gradient start from the top to the bottom

- Usate il filtro Sfocatura, sfocatura gaussiana / use the Blur Filter, Gaussian Blur
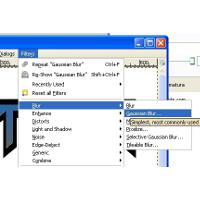
- Questi sono i valori da usare / This are the value to use
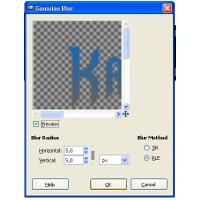
- Questo è il risultato fino ad ora... continuiamo / this is the result for now... continue

- Create un nuovo livello / Create a new level
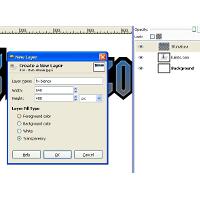
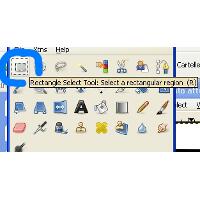
- Create una selezione che copra parzialmente il testo sul nuovo livello / Make a selection to cover parzially the text on this new level
- Riempite di bianco la selezione attiva / Fill with white the active selection
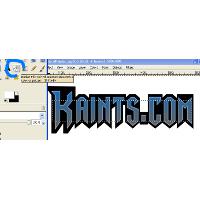
- Deselezionate - ctrl+shift+a / Deselect - ctrl+shift+a
- Usate il filtro Sfocatura Effetto Movimento / Use the filter blur motion blur
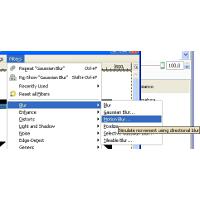
- Usate le impostazioni dell'immagine / Use the value that you can see in the image
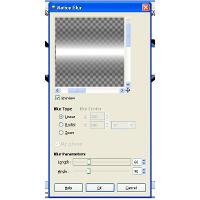
- Ripete la sfocatura effetto movimento una seconda volta ma con questi nuovi valori / Repeat the Motion blur effect but with this new value
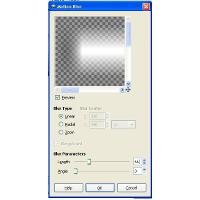
- Se è necessario muovete il livello per centrarlo col testo ( strumento muovi - M )/ If is necessary move the level to center the text ( Move tool - M )
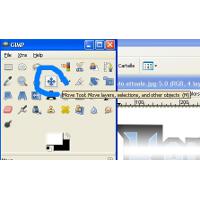
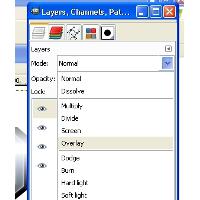
- selezionate la finestra dei livelli e impostate il metodo su sovrapponi / Select the level window and set the mode on overlay
- ripetete i punti 16,17,18 e 19 di questo tutorial ( pagina 1 ) ma questa volta il colore di riempimento dev'essere nero / repeat the 16,17,18 and 19 point of this toturial ( page 1 ).. but this time the fill color must be black
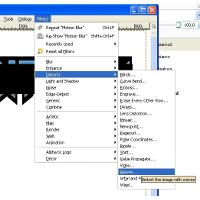
- sempre col livello nero selezionato andate su filtro distorsione onda / always with the black level selected go to the filter distorts than waves
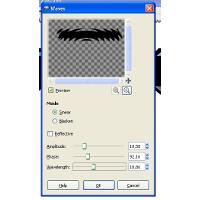
- Usate questi valori / use this value
- Settate il modo di fusione del levello su sovrapponi / Set the level fusion mode on overlay

- Usate il filtro sfocatura nello stesso modo dei punti 13 e 14 di questo tutorial ( pagina 1 ) / use the blur filter in the same way of 13th and 14th point of this tutorial ( page 1 )
- Selezionate il livello background e poi andate su colori e infine su inverti / Select the background level than go to the menù color... invert
- Fate lo stesso per il livello testo / do the same for the text level

- Questo è il risultato finale / This is the final result

VIDEO
by
Kain the supreme

