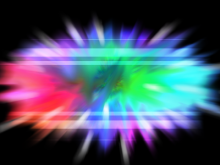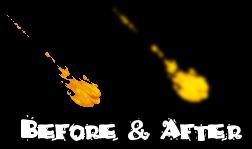
Create FX per winmugen con Gimp
Make some Fx image with Gimp to use on winmugen
Facile - Easy

Questo/a opera è pubblicato sotto una Licenza Creative Commons.
Video:
- Aprite l'immagine da modificare // open your image to edit
- SE è indicizzata trasformatela in rgb : "immagine / metodo / rgb"
IF is indexed transform to rgb: "image / method / rgb"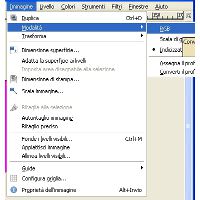
- Andate ora su "Colori / colore ad alpha" ( usate lo strumento contagocce per selezionare il colore di sfondo )
Go to "Colors / Color to alpha" ( use the color picker to select the background color of your image )
( osserva l'immagine // see the image )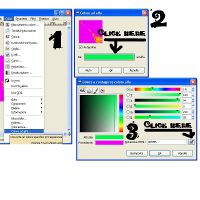
- Andate su "Immagine / Dimensione superficie" e aumentatela di 100 o 200 pixel in relazione alla vostra immagine
Now go to "Image / Canvas size" and grow the size of 100 or 200 pixels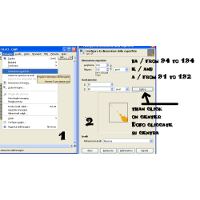
- Andate nella finestra "livelli" e cliccate col tasto destro del mouse sul livello con la vostra immagine, e scegliete "Livello a dimensione immagine"
Go to the "levels" window and make a click with the right mouse button on the level with your image than choose "Layer to image size"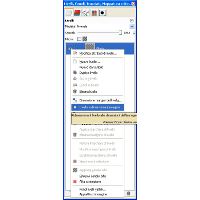
- Create un nuovo livello e riepitelo di nero, posizionatelo sotto il livello con l' fx
Make a new layer and fill it with black, put it bottom the fx layer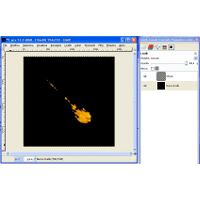
- Appiattite l'immagine ( immagine / appiattisci immagine )
Flatten the image ( image / flatten the image ) - Copiate questo livello per 2 volte
Copy this layer 2 ( two ) times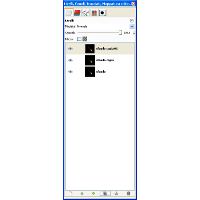
- nascondete i due livelli creati ( i due + in alto )
Hide the 2 top most layer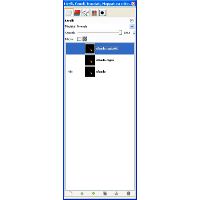
- Applicate una "sfumatura di 2 pixels" ( Filtri / sfocatura / gaussiana )
Apply a "2pixels blur" ( Filter / blur / gaussian blur )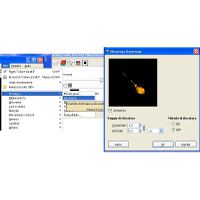
- Rendete visibile il livello successivo come nell'immagine
Make visible the next layer, see the image: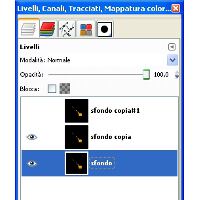
- Applicate una "sfumatura di 5 pixels" ( Filtri / sfocatura / gaussiana )
Apply a "5pixels blur" ( Filter / blur / gaussian blur )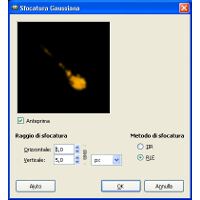
- Settate questo livello su "sovrapposto"
Set this layer as "overlay"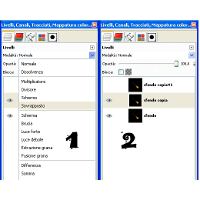
- Rendete visibile il livello successivo come nell'immagine
Make visible the next layer, see the image: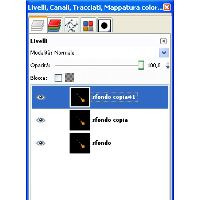
- Applicate una "sfumatura di 5 pixels" ( Filtri / sfocatura / gaussiana )
Apply a "5pixels blur" ( Filter / blur / gaussian blur )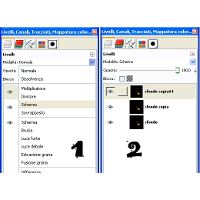
- Settate questo livello su "schermo"
Set this layer as "screen"
- Appiattite l'immagine ( immagine / appiattisci immagine )
Flatten the image ( image / flatten the image )
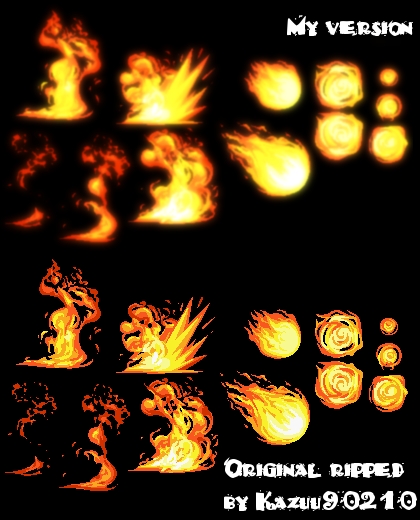
by
Kain The Supreme.


